Here are some ideas to make your own labels
You can use cookie cutters, trace designs from books (that have a flexible copyright), use stamps or stencils or draw your own. You can also create labels in your computer and print them on fabric that has been prepared for printing or you can even embroider them be it by hand or machine. When writing or painting, it is easier to work on fabric that has been stabilized with freezer paper. Click on the images to enlarge them.
-
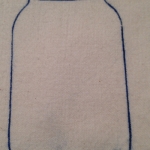
- This is from a rubber stamp
-
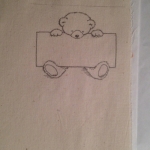
- This is from a rubber stamp
-
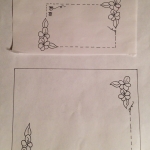
- I dew my own
To make labels using rubber stamps, use fabric markers/pens. Rub the ink onto the part of the stamp that you want to use and stamp it onto stabilized fabric. That’s how I made the bottle label and the teddy bear label. Then add details using the fabric pens. Follow manufacturer’s instructions to set the ink from the pens, the ones I use need to be heat set with an iron.
Labels are usually attached to the back of the quilt. I turn the edges of the label under. If the label is a square or rectangle I fold all the edges under and press them, then I stitch it down. If it is round or some other shape I turn the edge under as I stitch. I use needle and thread and an applique stitch to secure the label down. Sometimes two sides will be hidden under the binding. Sometimes I attach the label before the quilting is done, this way the label cannot be removed easily.

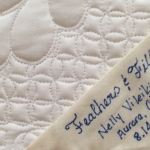
Label being stitched
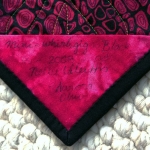
The two labels below are sewn into the binding. Other than fusing, this is the easiest, fastest way to add a label to your quilt.
-
- Label made on a square piece of fabric folded to make a quick finished edge
-
- Label made on a square piece of fabric folded to make a quick finished edge
Some people make very elaborate labels using applique or embroidery. What ever method you choose, do add labels to your quilts.
Next time I will show you how to add a hanging sleeve to your quilt.