-
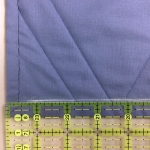
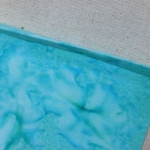
- Use a ruler and chalk to mark a line 1/2″away from the edge and all along the side where the sleeve will be placed
-
- Mark all the way out
-
- Chalk line 1/2″away from edge
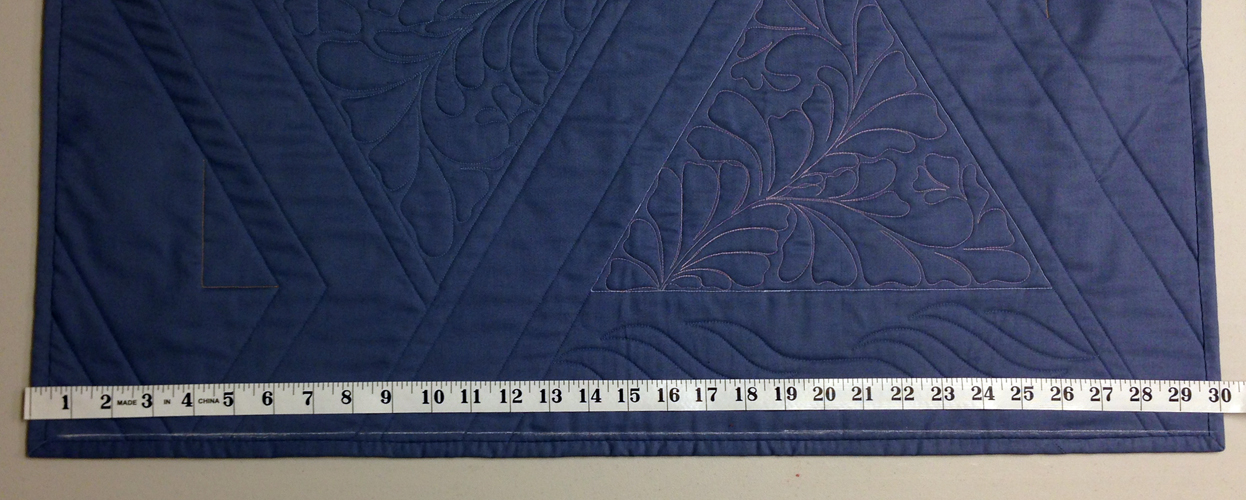
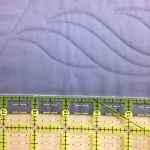
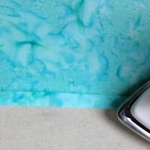
Measure the side of the quilt where the sleeve will be placed.”This one is 30″.
Cut a piece of fabric 9″ x 30″.
-
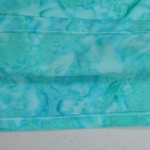
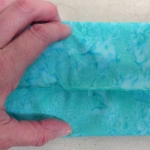
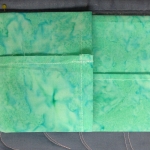
- Fold fabric twice
-
- Then press
On both short sides fold the fabric twice, towards wrong side, and press.
-
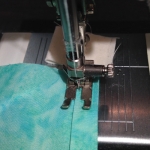
- Stitch as shown
-
- Stitch both short sides and press
-
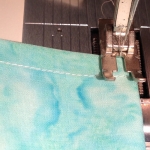
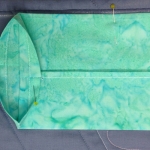
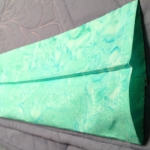
- On the opposite side, use a 1/8″ seam and a very long stitch length to stitch a basting line.
-
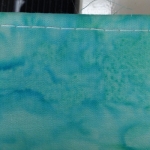
- Basting line parallel to the stitching that closes the tube.
-
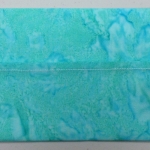
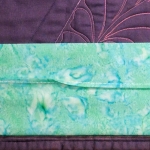
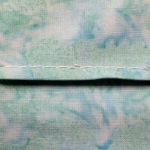
- Bring the seam line toward the center
-
- Use your hand to flatten it and press to one side.
-
- The sleeve has no raw edges inside to prevent the rod to ravel the fabric
-
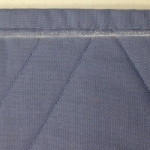
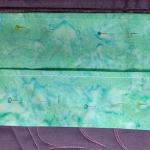
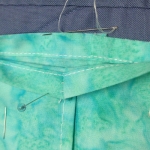
- Place the tube along the chalk line with the seam touching the quilt and the basting line up towards you.
-
- Here the basting line is looking at you while the sleeve is nicely placed along the chalk line.
-
- Pin baste close to both long sides to keep the sleeve straight.
-
- Use thread and needle to secure the sleeve to the back of the quilt
-
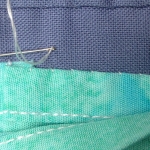
- Stitch all four sides down to prevent the rod to be inserted between the sleeve and the quilt.
-
- To remove the basting stitches, snip every 3 or 4 stitches
-

- Then pull the thread on the opposite side.
-
- Remove all loose thread and steam or press.
-
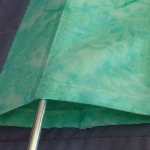
- All done! Now insert a rod and take to the wall.
Some thoughts:
The rod should not touch the quilt.
I usually use the same fabric as the backing to make a sleeve. I used one of the fabrics on the front of the quilt so that you could see what was happening. If I had used gray fabric for the sleeve, the sleeve would blend onto the quilt back and you would not be able to see where the sleeve was being placed.
Sometimes thick rods are used to display quilts, specially at quilt shows. This is why I bother to add a basting line, to add fullness to the side where the rod gets inserted and also to help me place the sleeve straight.