Here is how I would approach the making of pinwheels from pre-cut squares. (Click on images to enlarge)
-
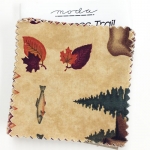
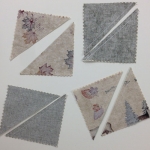
- Select a stack of pre-cut squares
-
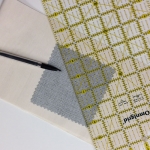
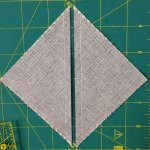
- Use a mechanical pencil and a ruler to trace a diagonal line as shown in the picture.
-
- Take a strip of background fabric that is slightly wider than your squares. Place the squares on the strip of background fabric, right sides together and pin.
-

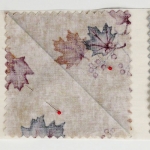
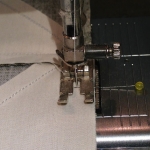
- On both sides of the marked line and 1/4″ away from it stitch a parallel line.
-
- Traveling from one square to another
-
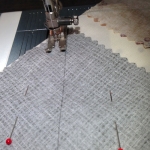
- Stitching 1/4″ away from the marked line
-
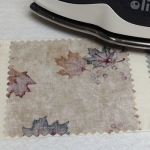
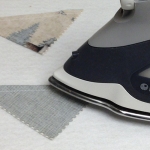
- Remove pins and press to set the stitches
-

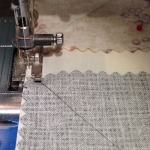
- use a ruler and a rotary cutter to separate the squares.
-
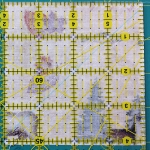
- Trim the squares. Sometimes the pre-cut squares are not so square
-

- Cut in between the seams.
-
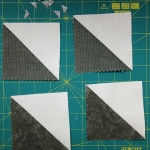
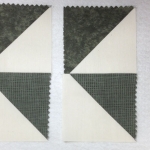
- This is how it looks after cutting in between the seams.
-
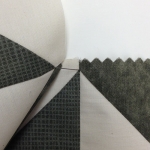
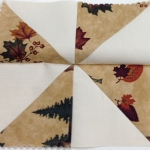
- These are four squares to make two pinwheels.
-
- Press the triangles.
-
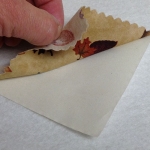
- Press towards the dakler fabric.
-

- Pressing towards the darker fabric.
-
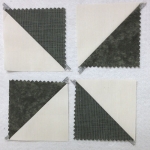
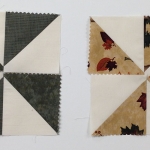
- Four half-triangle squares. Notice the four green sections are from two different fabrics. My stack of squares didn’t have repeated squares. I used two very similar fabrics.
-
- Remove the bunny ears to make the next step easier.
-
- These are also made from two different fabrics.
-
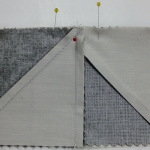
- Getting ready to sew the pinwheels
-

- Place a pin on the side to be sewn,
-
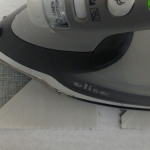
- Always press after sewing.
-
- Nicely pressed
-

- Notice the dark fabric in the seam allowance. I trim it so that it will not create a shadow when quilting the project.
-
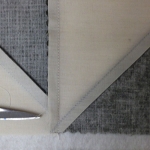
- Small piece of dark fabric has been trimmed.
-
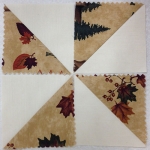
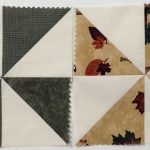
- Lay out the sections for the second seam.
-
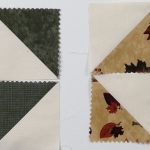
- Or like this. Half triangle squares are very versatil.
-
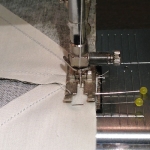
- Stabing the points.
-
- Pin. Stabing pin will be removed.
-
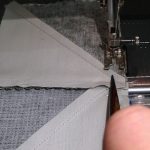
- Sew. Use a stiletto to hold pieces where you really need them to be.
-
- Pins are always perpendicular to the edge you are sewing.
-
- Remove pins as you go.
-
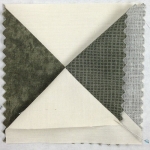
- All done sewing.
-
- And here is the other one
-

- Press.
-
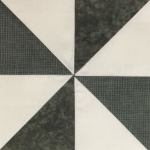
- Here are the two pinwheels.
If the first one you make is not perfect, don’t worry, the next one will be better.